
 Making a reveal effect for an avatar
I stream some of my development work over at Twitch. Recently, I managed to get an avatar working to give me some actual presence on this stream, but before using this regularly, I wanted a moment to introduce it during the stream. For this, I came up with an effect, and I wanted to explain how I built this.
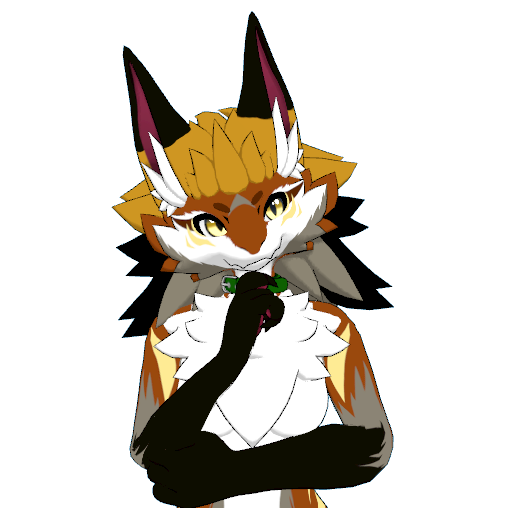
The basic idea is that the avatar would appear by its triangles going from out-of-place and showing in a pure wireframe fashion, and then move into their correct place, while revealing the proper texture and shading.
There are a few technical aspects to take note of:
- The actual avatar uses a complex shader, and I did not wish to dive into its internals to integrate the effect into the shader itself. So anything I do must render separately from the mesh yet still allow me to blend/transition to the mesh.
- The avatar will be tracking my movements during the reveal, so it must work without issue on a skinned mesh.
- The effect will render inside vtubing software where the entire background is transparent, so I only need to care about showing the effect, and nothing else - there's no background I have to work around.
- It's a one-off effect specifically to run on my computer, so it doesn't have to be terribly efficient.
Hiding the original mesh
Since I will be manipulating the position of the mesh triangles relative to where they're normally rendered, I need a way to hide the unrevealed triangles. For this, I decided on a separate render pass with a shader that renders nothing to the color buffer, but does render to the stencil buffer, specifically for pixels on triangles that are already in the final position, and as such "safe" to render with the actual avatar shader.
Building the actual effect
Moving triangles individually
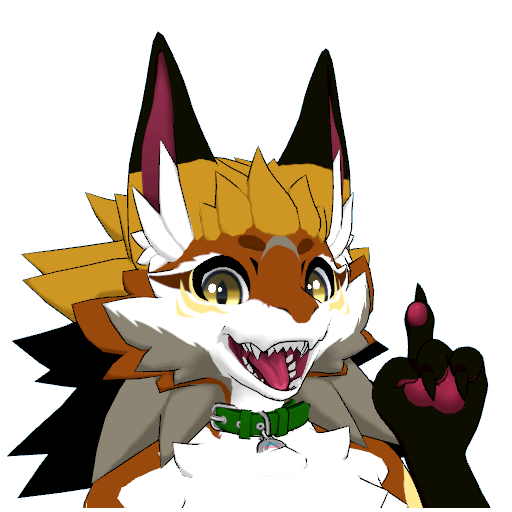
The first aspect of the effect as I described earlier is that the individual triangles would move separate from eachother. This leads to a slight issue: normally, meshes are made to share vertices between triangles, so you cannot move an entire triangle without also moving (part of) another. Luckily there's a straightforward solution, that is just not very often used: the geometry shader!
With a geometry shader, I can take the vertex data as transformed by the vertex shader (which still shares vertices), and then output a separate, new triangle. This triangle has its own independent vertices, and so can move wherever I want without affecting other triangles.
A wireframe look
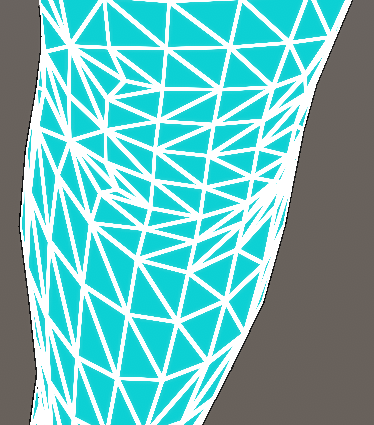
Now that I have the triangles, it's time to make them look more interesting. Wireframe rendering has a number of methods, but I decided to use the method described in detail by Catlike Coding. The short version of this is: Use the barycentric coordinate of the pixel to compute the distance to the triangle edge, use the HLSL fwidth function to make this distance be consistent with respect to pixels, and then blend between the edge color and center color based on this distance. With a white edge color and a light blue interior, I tried to refer back to old-time wireframe meshes.
Moving the triangles
Now that I have some wireframe triangles I can move around, I need to, well, actually move them in an interesting way. In my head I had the idea that the reveal would start at the feet of the avatar, and then work its way up - so it made sense to me that the triangles would appear above their final position, and then move down. For this motion, I need a displacement for the triangles to start and animate to a zero displacement, and some curve for this motion to follow.
To get a starting displacement up and away from the mesh, I start with the normal of the triangle. This is easy to compute, and in the geometry shader I'm working on a per-triangle basis anyway. I then replace the y component of this normal with a 1, and now I have a value that's also higher than the starting position. Because the normal is computed for the triangle, and not the vertex, it also does not deform the triangle.
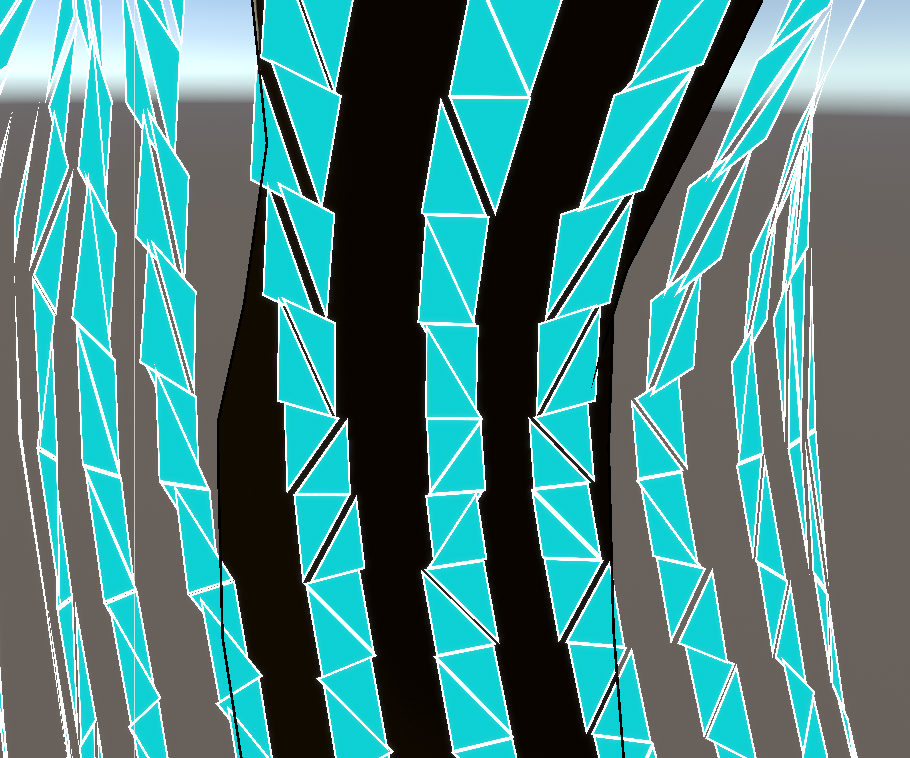
While very simple, this method has one problem: It's also very, very regular, and this will just not look very good. After seeing this, I went for one of the most simple methods to break this regularity: noise.
Years ago I ran into Brain Sharpe's GPU noise lib, a very extensive library of many useful procedural noise functions that run straight on the GPU. Back then I converted it to HLSL, since that's the language that is used for Unity shaders. With some noise available, I can just modify the starting displacement offset with a random value, and this should greatly break up the regularity we saw above. In this case I opted for simplex gradient noise, as experience shows me that simplex noise simply has nice properties, and using gradient noise gives a 3d vector to offset my 3d position with.
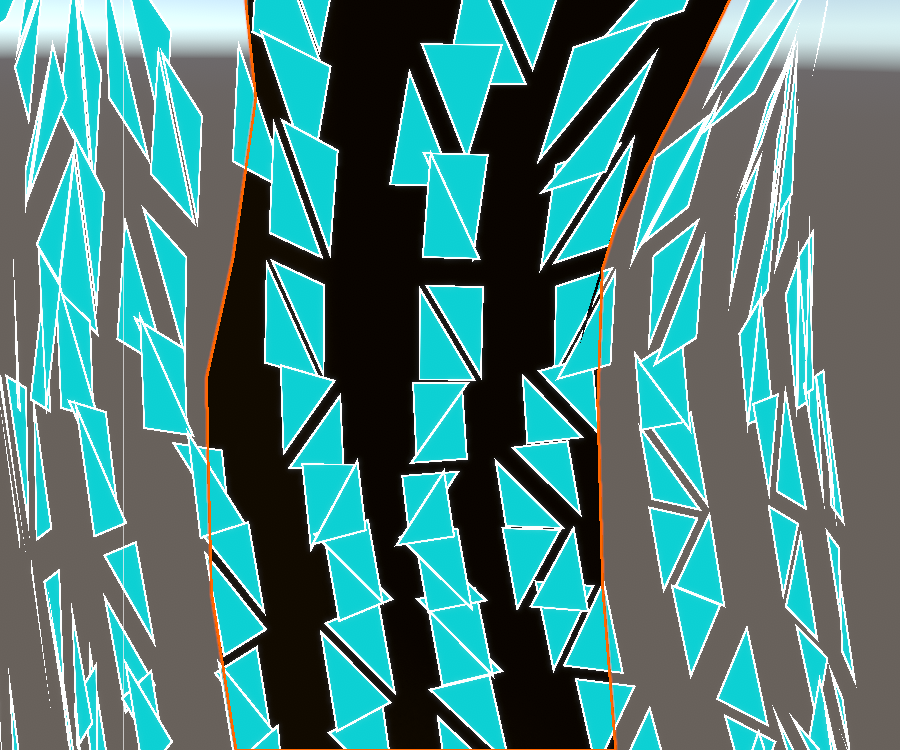
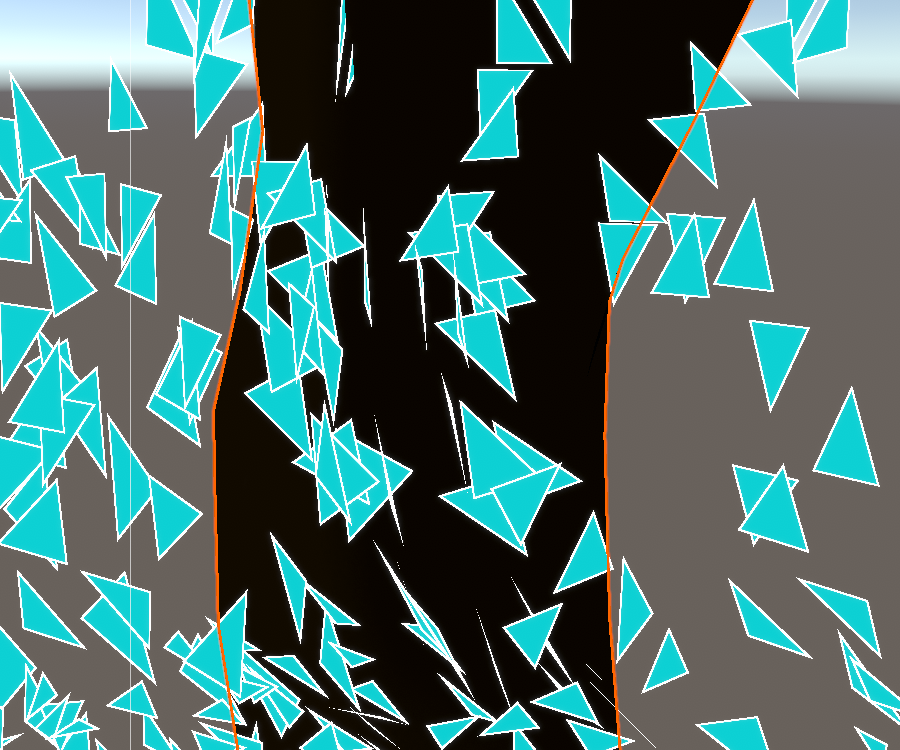
Increase the scale on the displacement value, and now it's looking much more interesting!
For the motion itself, I stuck to something simple and based on the experience that strictly linear motion is generally boring. So I settled on linear interpolation for the X and Z coordinates, but a square function for the Y coordinate. This makes the motion just a bit more interesting.
Blending towards the actual avatar
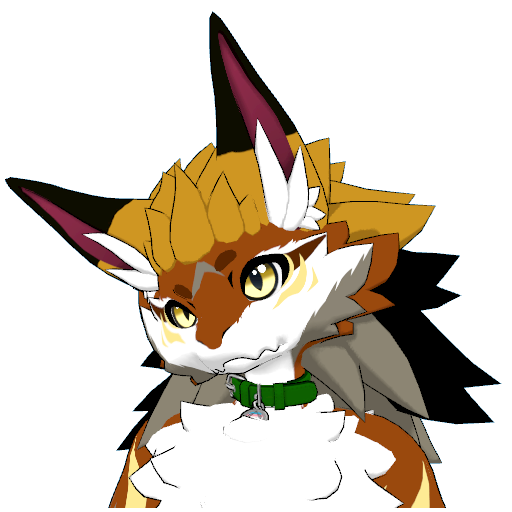
I now have wireframe triangles and can move them, but there are still two aspects left: The triangles have to appear initially - I can't just pop them into existence - and eventually the triangles have to disappear again to reveal the actual avatar.
I handled these two aspects in effectively the same way. During appearance, I fade in the wireframe edges, and then use the noise library I mentioned before to create a nonlinear alpha blend pattern for the inner triangle. Disappearance to reveal the avatar fades out the wireframe edge again, and uses the same noise principle to fade out the inner triangle.
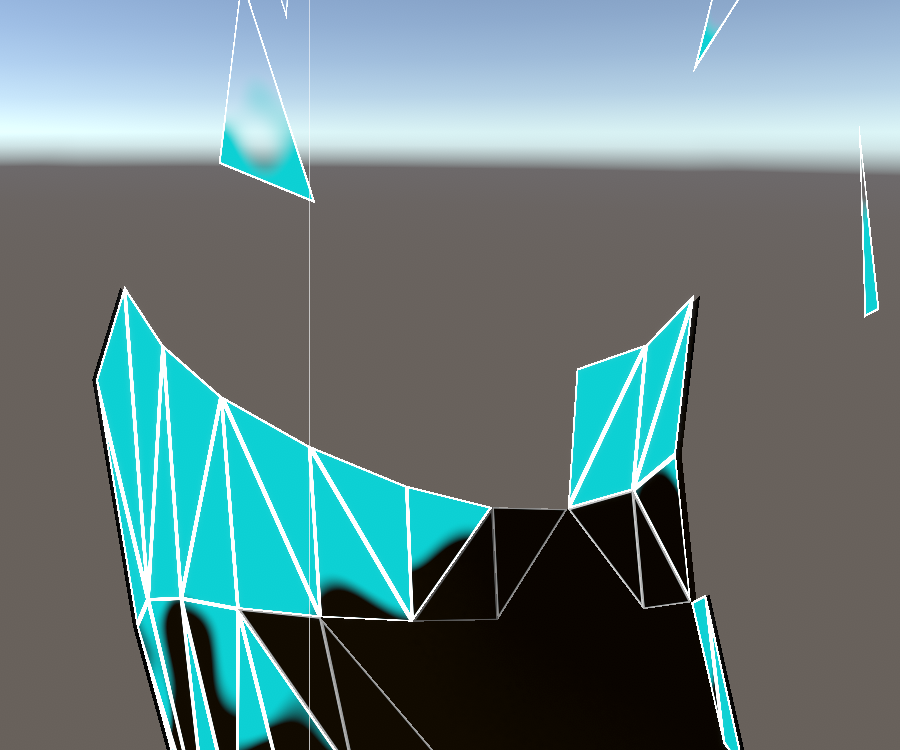
Combine this with the masking step I described at the start, and I can now make the avatar appear incrementally!
The last part of the effect is where this transition range is. There's nothing fancy about this - I compute the distance of the lowest vertex of the triangle to a particular configurable point, and combine this with an overall "progress" variable. This way I have a small spherical shell in which the actual effect happens, and by animating the overall progress with time, the entire avatar is eventually revealed.
The final result
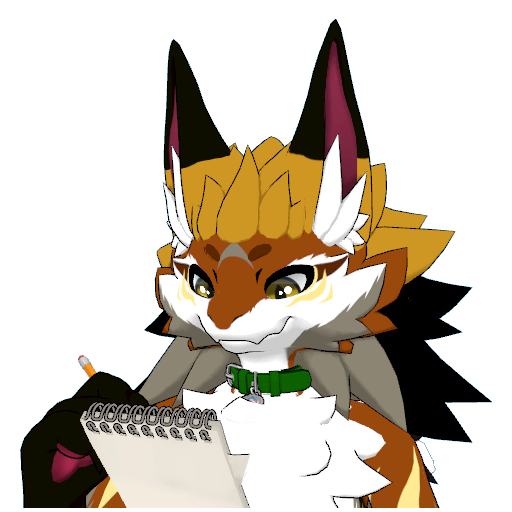
After all that, within the vtubing software I made a small camera animation to enhance the reveal, and the end result is this:
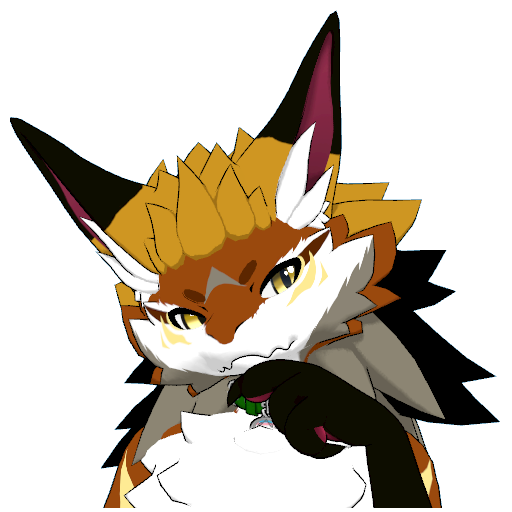
Hi there, this is me!